When editing your ePortfolio, sometimes it is hard to visualize what your website will look like from the Dashboard. Something to understand about web development is that there are two “ends” of a website: the back end and front end.
The back end is your dashboard where you create all of your content, such as adding pages, posts, creating menus, etc. The front end is the actual website that people will interact with. It is the visual delivery of all of your content. You can edit the visual style of your ePortfolio in the Customize Panel.
This support article will show you how to access the Customize Panel and walk you through its features. For this article, we will be using the WordPress Twenty Seventeen Theme that comes standard with your ePortfolio. Keep in mind that each theme has different options in the Customize Panel, but the concepts and how to edit your website from here is very similar.
Accessing the Customize Panel
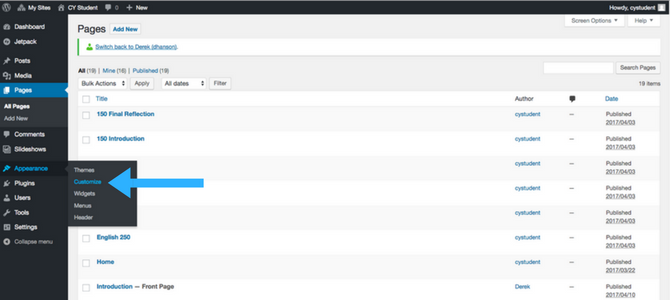
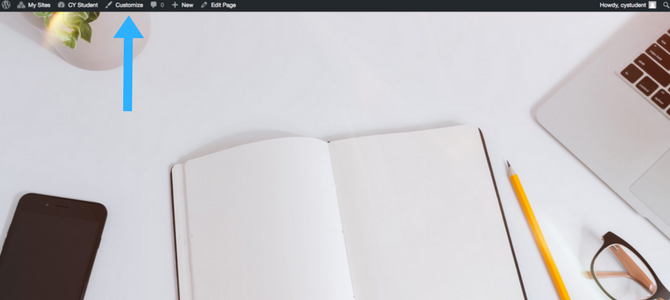
To get to the Customize Panel, you can navigate to appearance > customize on the lefthand side of your dashboard toolbar (first image below). You can also access it from any page on your ePortfolio’s front end by selecting Customize in the top toolbar.
Tip: Places in WordPress where you can change the visual appearance of your website are usually marked with a paint brush icon.
The Customize Panel Options
Once you click Customize, you will be taken to the front end of your ePortfolio, but the view will be slightly different. You will see a panel with editing options appear on the left side of the screen. Here is where you can customize the visual design of your site, again varying in options with the theme you have chosen.
WordPress has also made a pretty cool update. Wherever you see a pencil icon in blue on your website, that is an item that you can edit in the Customize Panel. Click the blue pencil icon next to any item you want to edit and you will automatically be directed to the corresponding spot in the panel on the left.
Note: Any changes you make will not save automatically. Once you make a change, and only after you are satisfied, click the blue button on the top of the panel that says Save and Publish.
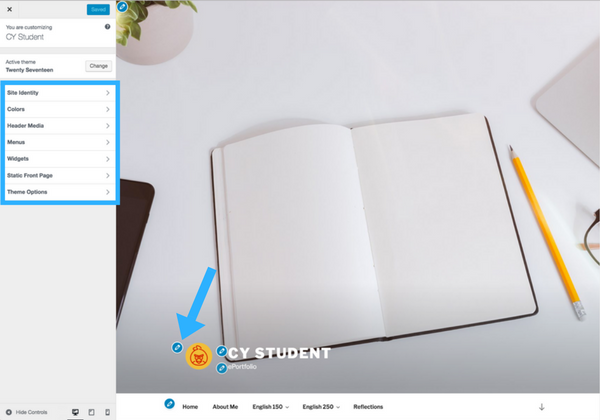
Site Identity
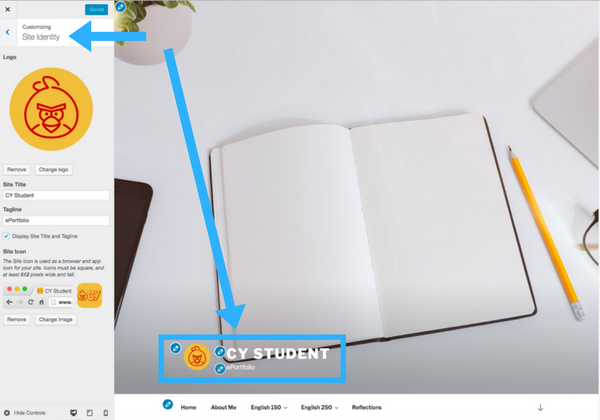
Your Site Identity is a great way to personalize your ePortfolio. You can upload an icon, logo, or image of yourself and change the title of your ePortfolio, including the tagline. Here Cy Student has created a logo and changed his ePortfolio’s name to be a cleaner, simpler title that is more reflective of his personality.
To learn how to create a logo for your ePortfolio, check out this article on Making and Uploading a Personal Logo.
Colors
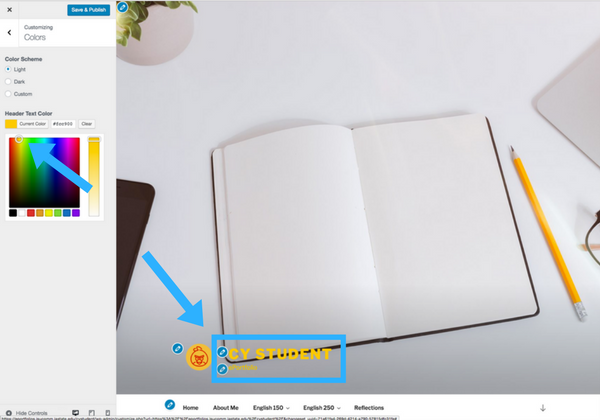
On your website you have the option to change the colors for some of the design elements. In the Twenty Seventeen theme pictured here, you can change the colors of your header text. This will apply to all headers on your ePortfolio. In this image below you can see how it changed from white to yellow in the Site Identity.
You can also choose a color scheme. This will apply to the background of your site. Currently it is set to light, and if you change to dark then all of the text will reverse colors.
Header Media
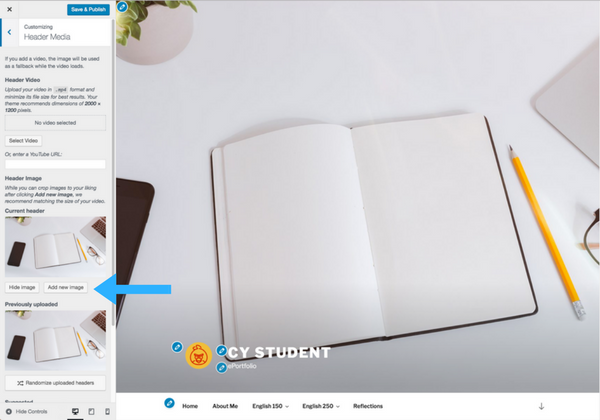
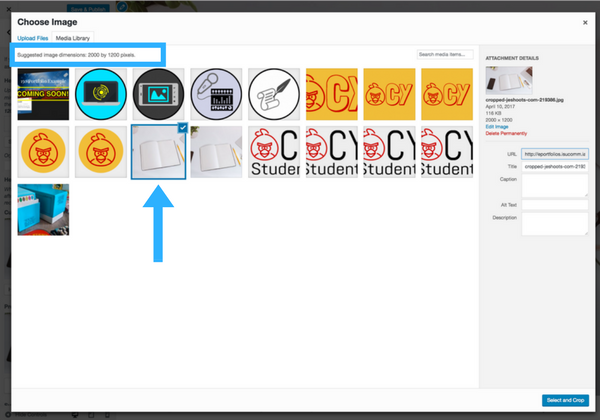
Your ePortfolio comes with a “very pretty” image of a plant on a table. This is simply a default image that you can change out. In the Header Media section of the Customize Panel you can upload your own image. Simply select Add new image, then upload your own photo to the media library.
Pay attention to the suggested dimensions in the media library. This shows you the ideal size for the image so that it fits properly within the webpage according the the theme.
You can also choose to have a Header Video as your homepage background (not shown). If you decide to use a background video, we suggest that you use the insert URL option and link to a YouTube or Vimeo video. The shorter the better.
Note: When uploading any image, the maximum upload size is 5 mb. If your image file size is too big, crop or export the image in a slightly lower quality to reduce the size until it meets the maximum requirement.
Menus
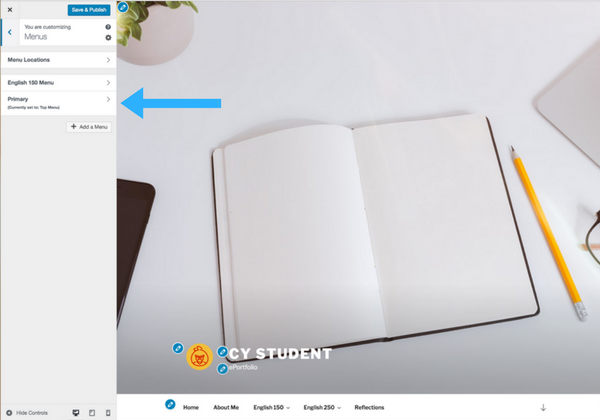
Probably the most important aspect of your ePortfolio is the Navigation Menu. The menu is how your users, specifically your ISUComm instructor, will interact with your ePortfolio. You can create and edit menus within your Dashboard in the back end (see the support article Create Menu for this method), but you can also create and edit menus here in the Customize Panel.
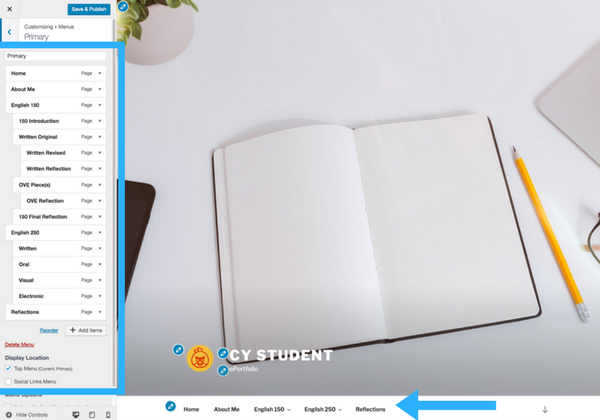
Selecting Primary Menu allows you to edit the current menu in your navigation bar. You can add pages, posts, categories, custom links, or even an new menu. Drag items into an order of your choosing. Each change you make will appear in real time on your website so you can see what it will look like. This is a nice alternative to the Dashboard view because you can visualize the changes you make.
Widgets
A Widget, though a funny name itself, is customizable content area in your ePortfolio. You can add Widgets in various places on your website and choose custom content to go in the Widgetized Area. In this example shown below, and an option in the Twenty Seventeen theme, we will be adding a Widget to the Footer (the very bottom of your website).
Step 1
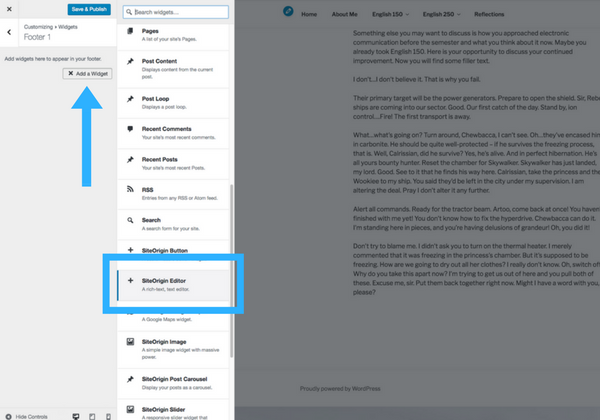
Select the Footer 1 option in the Customize Panel on the left.

Step 2
Select the Add a Widget box. Then choose the widget content. You have several options, and this example we are simply adding textual content using the SiteOrigin Editor.
Step 3
Write your content in the rich text editor box. As you write it, you will notice it appear in realtime in your footer area.

Step 4
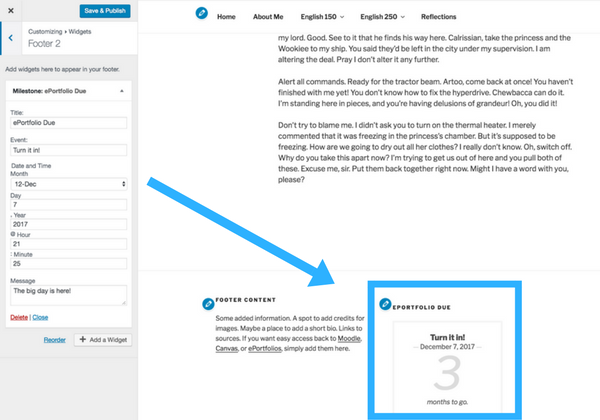
In this last step, we chose to edit the Footer 2 section and add a Milestone widget. This can be a particular date, maybe your exam or final day to turn in your ePortfolio. A countdown will begin in your footer area as shown in the image below.
Static Front Page
By default your ePortfolio will be set up to only display your most recent Posts on your front page. One of the first things your instructor may ask you to do is to set a Static Front Page. You can accomplish this in your Dashboard (see this support article on how to Set Front Page and Posts Page), but you can also do it here in the Customize Panel.
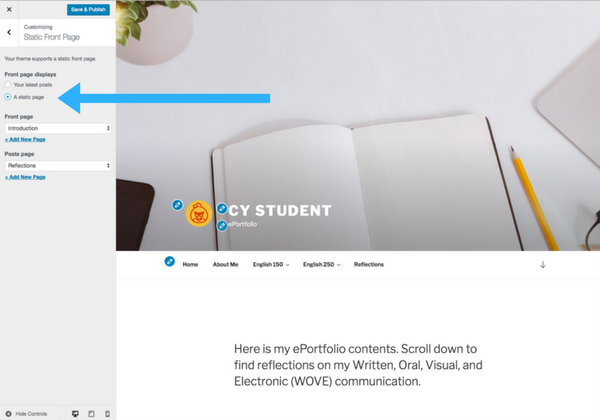
Check the A static page radio button and then choose which of your pages you would like to be the main landing page when you first go to your ePortfolio. Another way to think of the Static Front Page is that it is your Home link.
You can also select what page you want to display posts on here as well. In this example below, and the most likely scenario for your ISUComm ePortfolio, is to set the Introduction to the front page and your Reflections to your posts page.
Theme Options
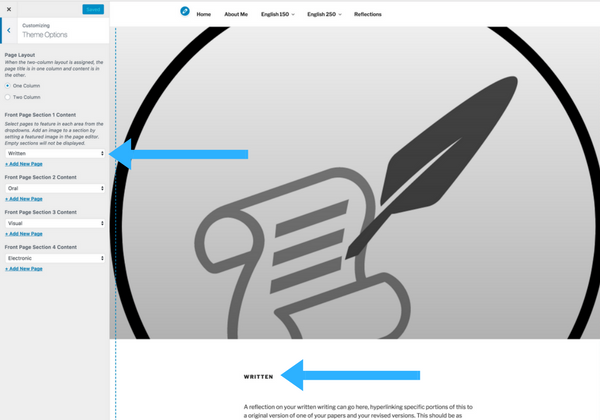
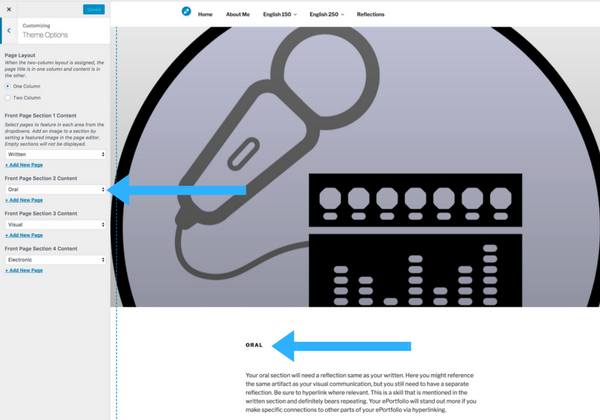
The Twenty Seventeen theme gives you the opportunity to add four parallax sections on your front page through the Theme Options in the Customize Panel.
Simply choose what page you want featured in each section. In Cy Student’s example, he chose to put his Written, Oral, Visual, and Electronic pages as his featured sections. To include the parallax image in the background for each image, simply upload a Featured Image in each specific page (this option is found on the right side of your page editor).
