It’s easy to use your ePortfolio for different classes–just create a menu for each class and activate the menu you want to use. This article describes how to create and activate a new menu.
Step 1: Create your new menu
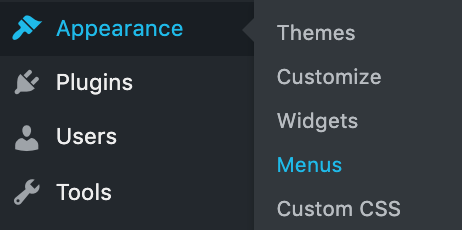
In the Dashboard, click on “Appearance” and then click on “Menus.”
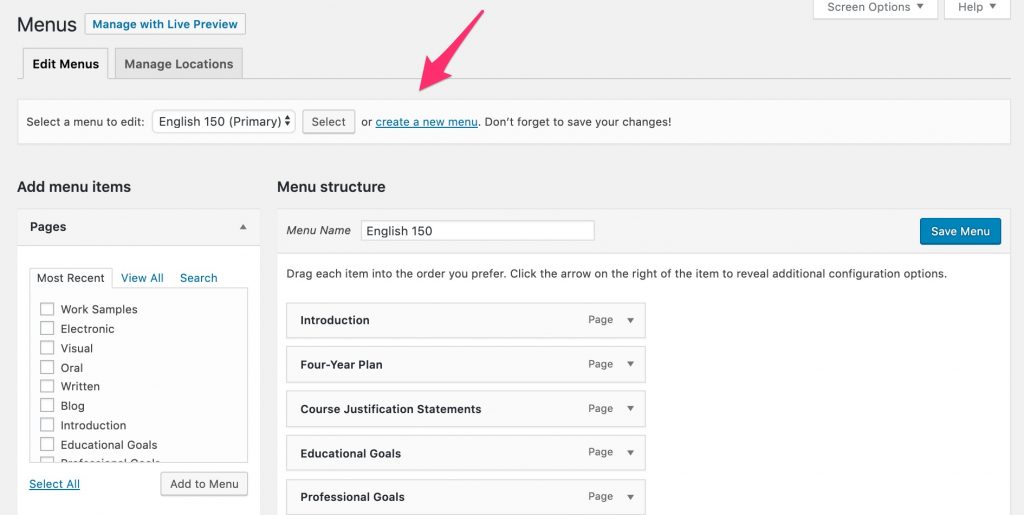
Click on “Create a new menu.”
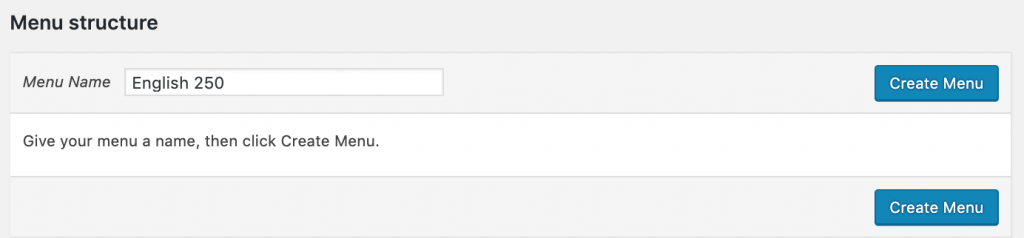
Give the menu a name (e.g., “English 250”). Then click on “Create Menu.”
Step 2: Add pages to your menu
Under “Select a menu to edit,” select the menu you just created. Then click “Select.”

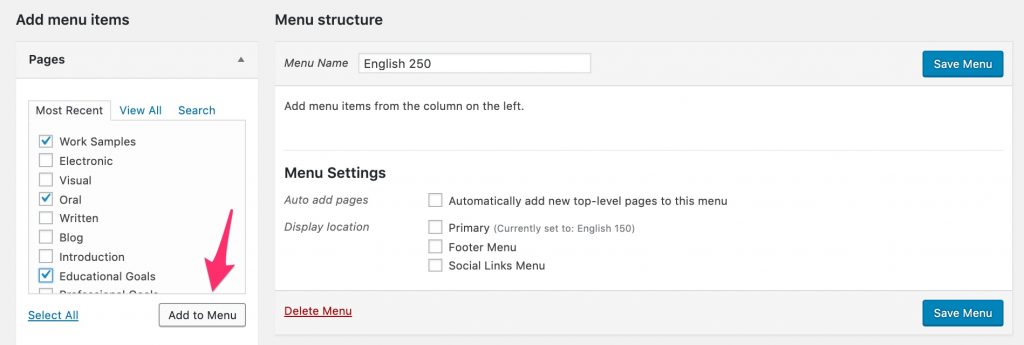
Select the pages you want in your menu. Then click “Add to Menu.”
Step 3: Activate your new menu
Under “Menu Settings,” check the box next to “Primary.” (Note: Depending on your theme, the wording may be slightly different). Then click on “Save Menu.”

That’s it! Your new menu should now appear on your ePortfolio.
For Support
If you encounter difficulty during any part of these tasks, please e-mail us at olt@iastate.edu for assistance, or stop by 306 Ross during our scheduled support hours.
If you cannot see the images in this documentation, click here.