Welcome! In this tutorial you will read about creating a questionnaire. A questionnaire is a useful tool to gather information from students. For example, this could be useful when getting to know students and their interests early in the semester, or it might be useful for checking in with students about their thoughts on the course half way through the semester.
Step 4. After the questionnaire is made
Step 1: Create the activity
“Turn editing on”.

“Add an activity or resource” in the desired block.

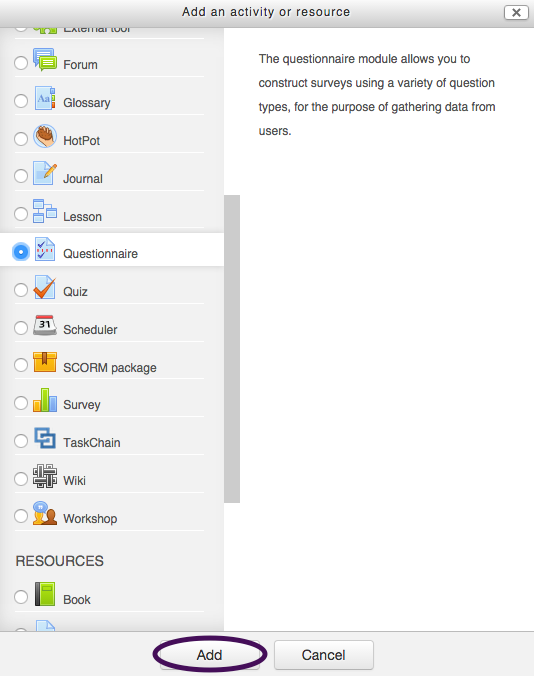
Select “Questionnaire” and click “Add”.
Step 2: Configure Settings
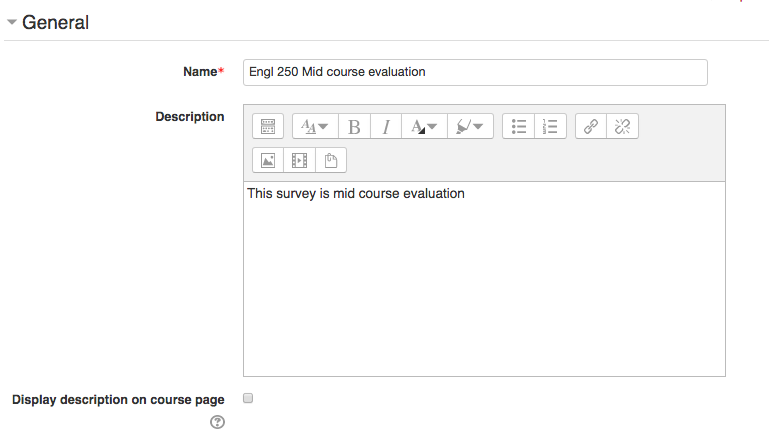
Provide a name and description for the questionnaire.
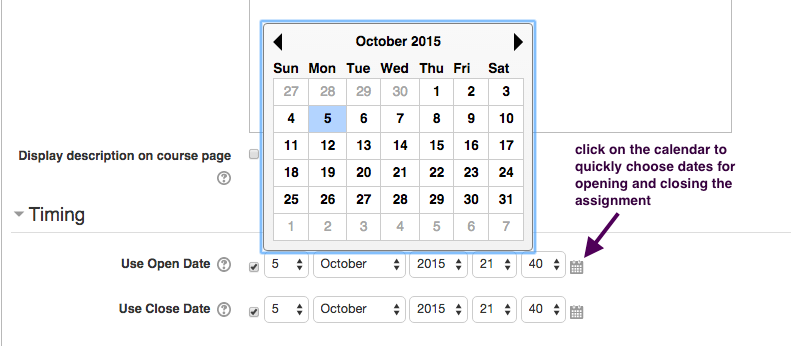
Configure the date and time of availability of the questionnaire.
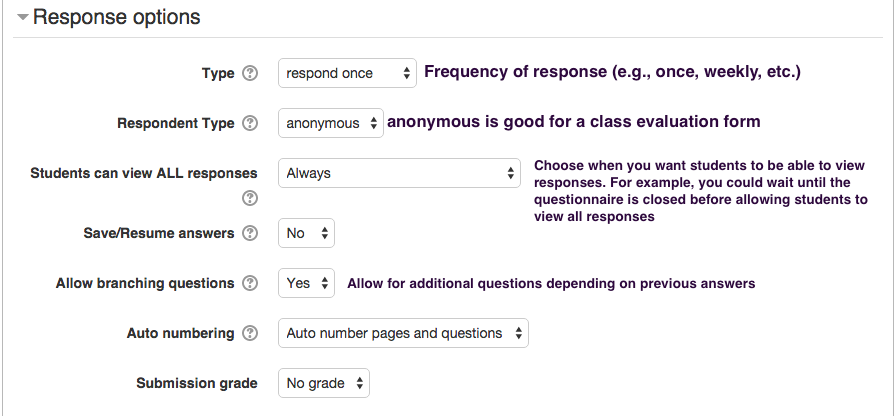
Decide on a response type.
Click “Save and return to course” when finished configuring the settings to your liking.

Step 3: Add questions
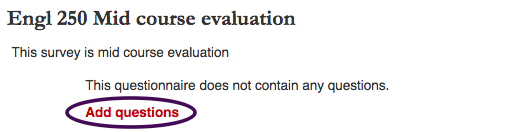
After creating the activity, click on it on your page.

And then click on “Add questions”.
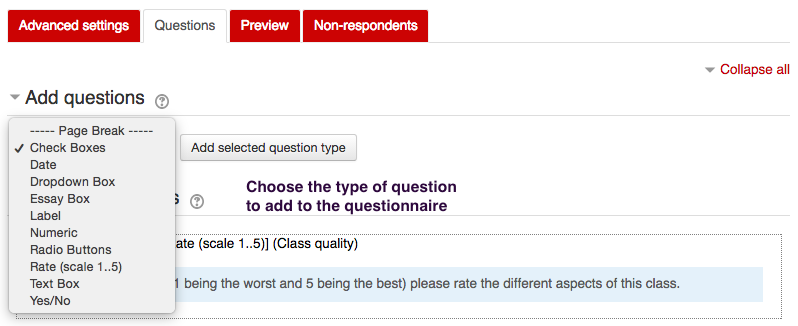
On the next page, choose the question type and click “Add selected question type”. For example the “Rate (scale 1..5)” option will let you create items with a Likert scale.
After selecting a question type you will fill out the appropriate fields. For example, if you choose the “Rate (scale 1..5)” question the following fields will appear.
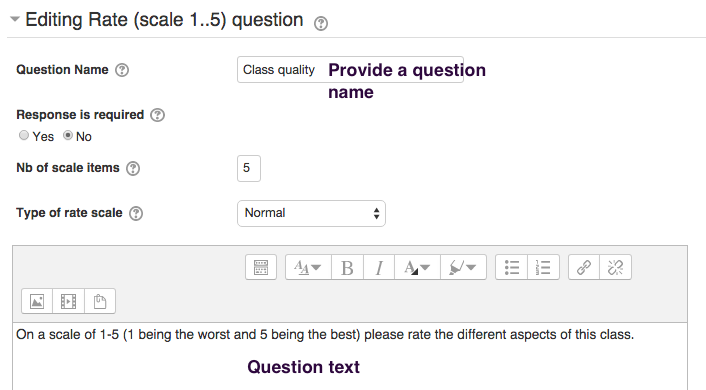
Beneath the question text you can add individual lines that represent the items that comprise the rating scale. Once you add the items that you want to fit under one question, click “save changes”.

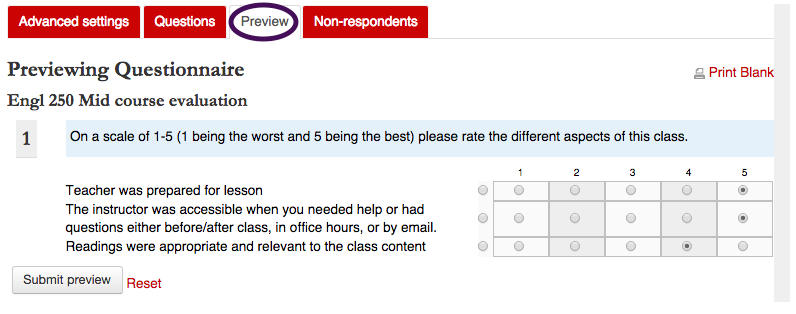
You can preview what the question will look like by using the “Preview” feature.
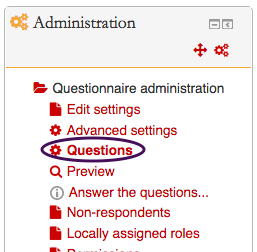
Step 4: Revise the questionnaire after it has been made
If you have created your questionnaire and want to go back to it to add more questions, you can do this by clicking on “Questions” in the “Administration” block.
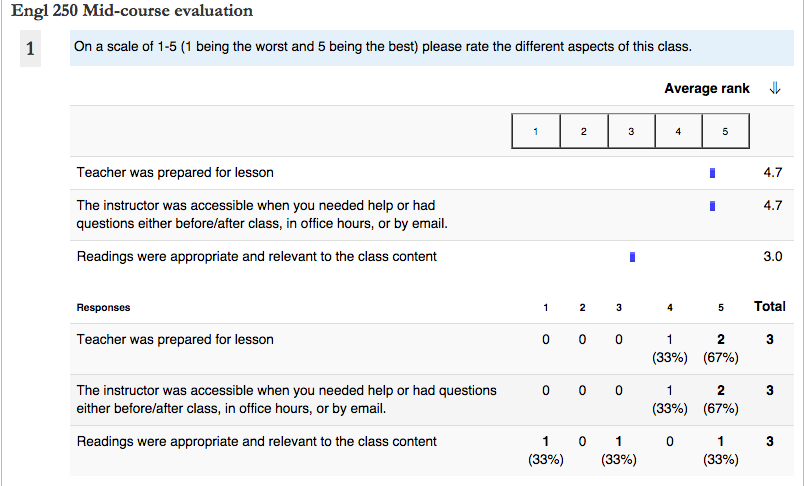
Once students have completed the questionnaire you can view the responses and descriptive statistics.
For further information about different question types, please click here.
For Support
If you encounter difficulty during any part of these tasks, please e-mail us at olt@iastate.edu for assistance, or stop by 306 Ross during our scheduled support hours.
If you cannot see the images in this documentation, click here.