Step 1:
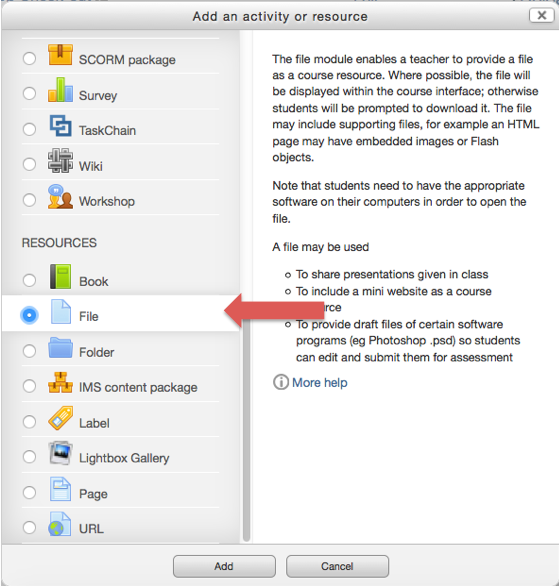
Click on “Add an activity or resource” and select the File option as shown in the image. After selecting the File, you will be taken to an upload page.
Step 2:
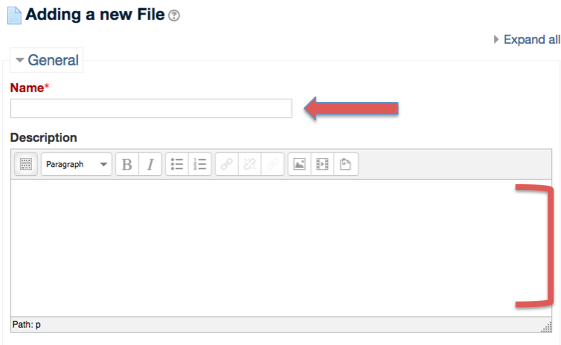
Type in a title or name for your file (a required step). There is a text box under the Name field. This text box can be used for any instructions, attributions, or explanations you want to create for your students, or it can be left blank. You can also choose whether or not to have information on course main page.
Step 3:
Upload a file” from the left hand side of your screen.
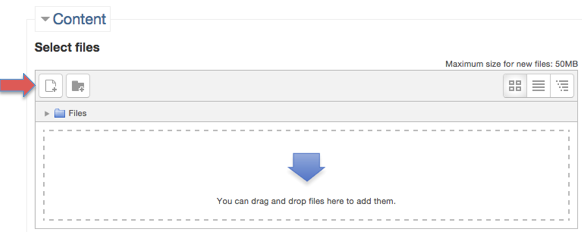
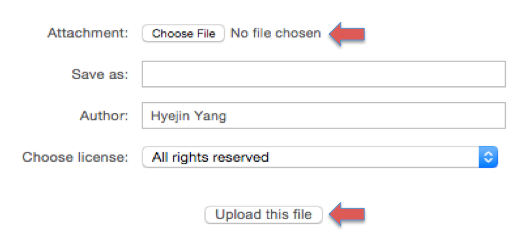
Then, click the “Choose file” button. You can then choose the file you wish to upload from your computer and click the “Upload file” button below it.
Another way to upload the file is to simply drag and drop a file from a folder in your desktop to the dropbox as shown below. Note that you can only drag and drop files in most of the web browsers (e.g. FireFox or Chrome), but NOT in Safari.

Step 4:
After uploading the file, select the “Save and return to course” button at the bottom left of the screen.
For Support
If you encounter difficulty during any part of these tasks, please e-mail us at olt@iastate.edu for assistance, or stop by 306 Ross during our scheduled support hours.
If you cannot see the images in this documentation, click here.