Add an Image to a Page or Post
Step 1:
Open the page or post you want to add the image to. Create a page or post if you don’t already have one.
Step 2:
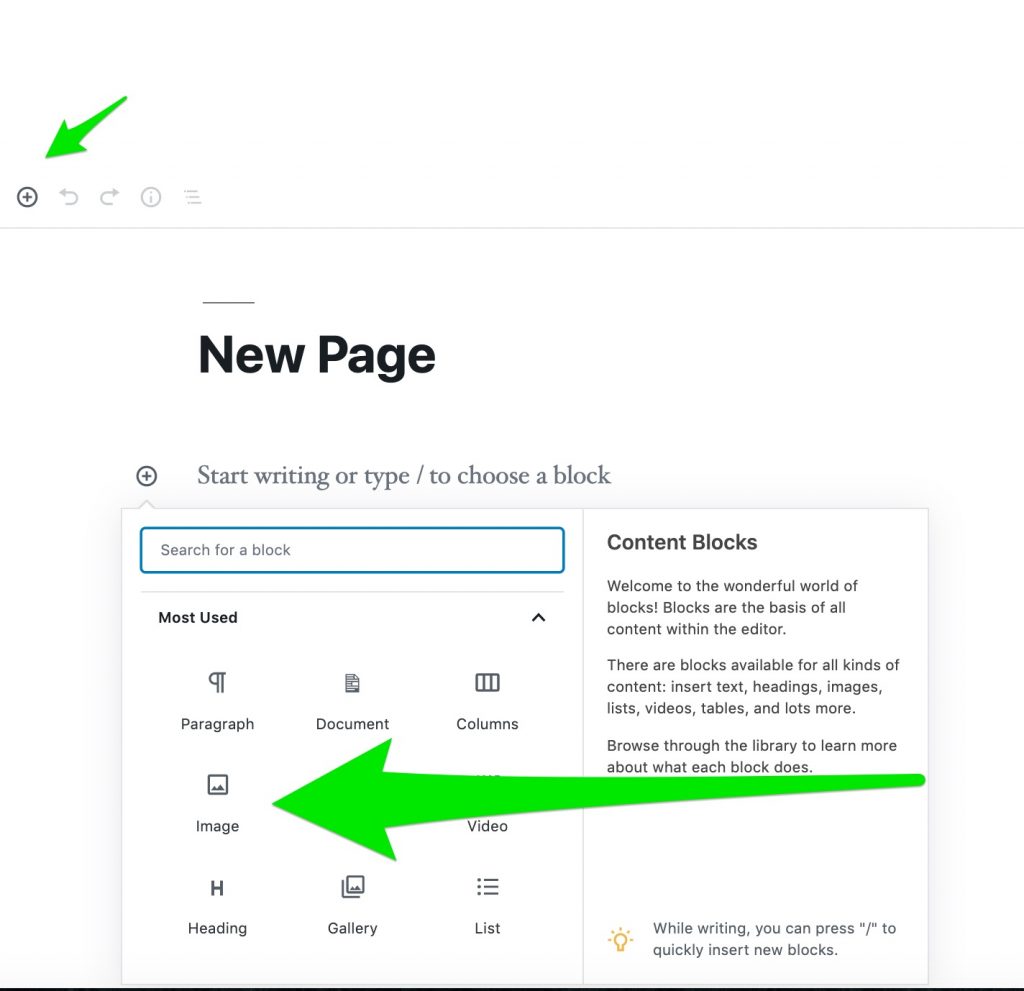
Click the (+) (“Add Block”) button and add an Image block.
Step 3:
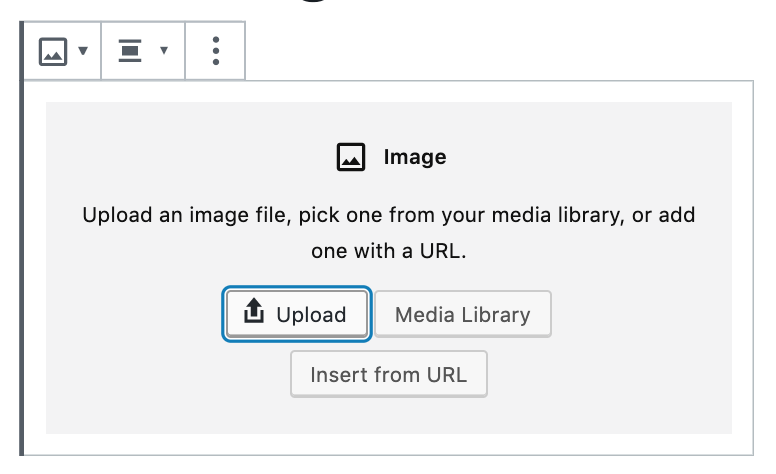
A pop-up box will appear with a couple of options. You can upload the image from your computer, or get it from your Media Library if it’s already there.
Step 4:
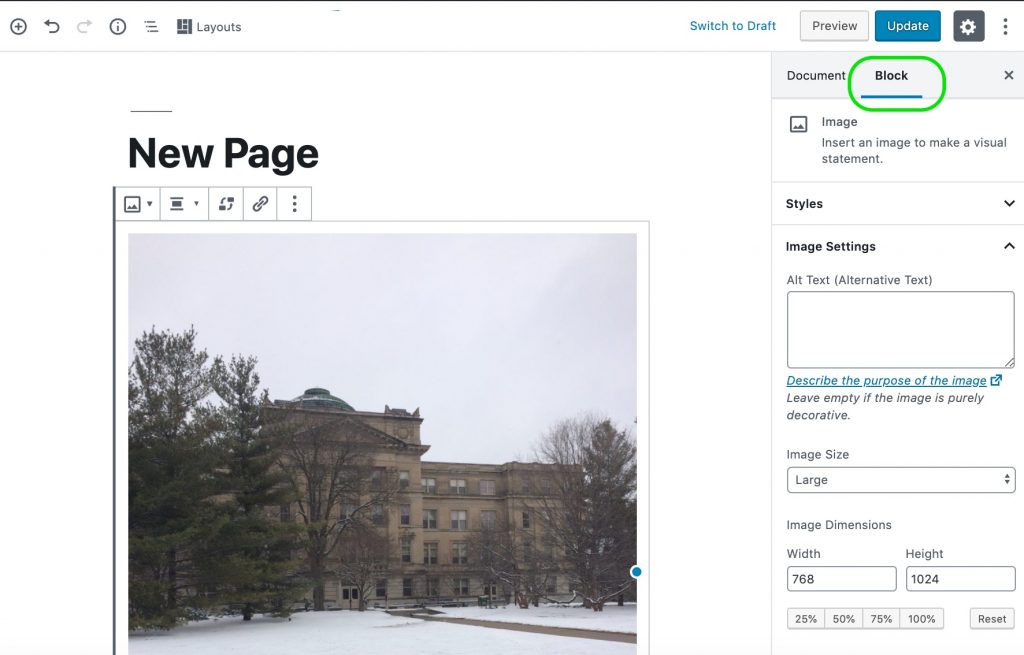
Manage your image settings using the menu on the left-hand side of the screen. Make sure “Block” is selected. You can also manage the settings of an image by finding it in the Media Library and adjusting it there.
Step 5:
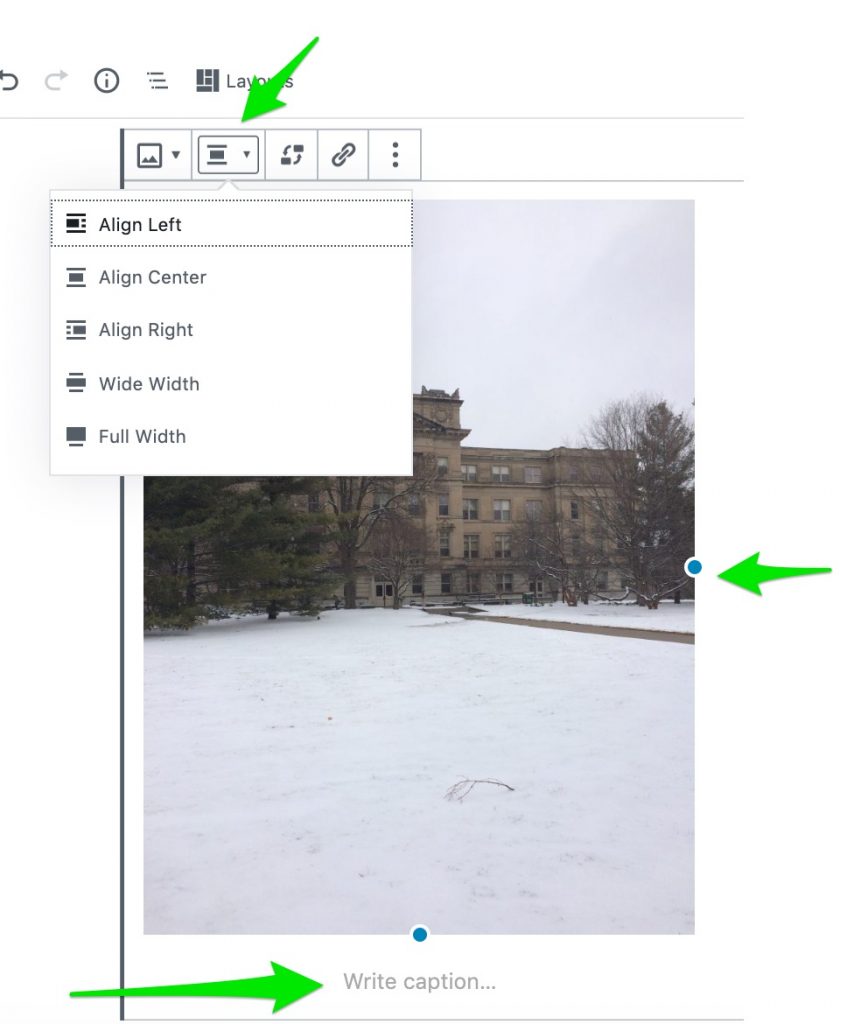
To resize, add a caption, or change the alignment: Click once on the image to select it. Use the blue dots to drag and resize. Use the menu at the top of the image to change the alignment, and click below the image to type in a caption.
For Support
If you encounter difficulty during any part of these tasks, please e-mail us at olt@iastate.edu for assistance, or stop by 306 Ross during our scheduled support hours.
If you cannot see the images in this documentation, click here.
Click here to return to the ePortfolio Support Site.