Welcome! In this tutorial you will learn about using Lightbox Gallery to display images.
The Lightbox Gallery is a resource in Moodle that allows you to share images. Some typical uses for it might be to give students access to PowerPoint slides without requiring them to have to download the PowerPoint file. In order to add a PowerPoint to a Lightbox Gallery, though, you will need to save the slides as images. Instructions to save a PowerPoint and Keynote slides as images such as png or jpeg can be found here. This tutorial assumes you have images to populate the Lightbox Gallery.
Step 1
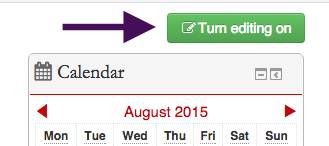
Turn editing on
Step 2
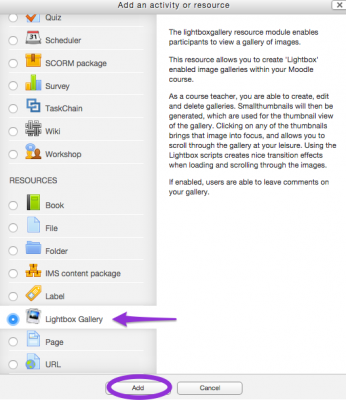
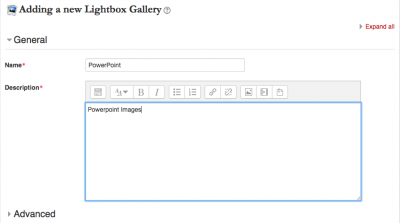
Add the “Lightbox Gallery” resource and give a name to your Lightbox Gallery. In this example we will call it “PowerPoint” because we will use it to display slides from a PowerPoint. After you fill out the “Name” and “Description”, click “Save and return to course”.
Step 3
Access and add images to your newly-created Lightbox Gallery by clicking on it in the block where you created it.
Step 4
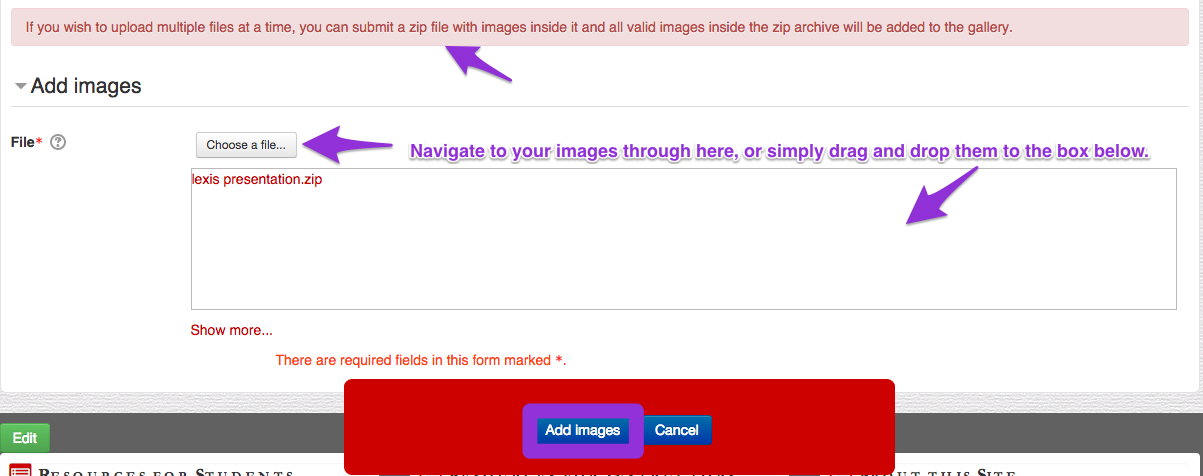
Once inside the resource, click on “Add images” and select the images or zip file containing the images that you want to include in your Light Gallery.
Optional*
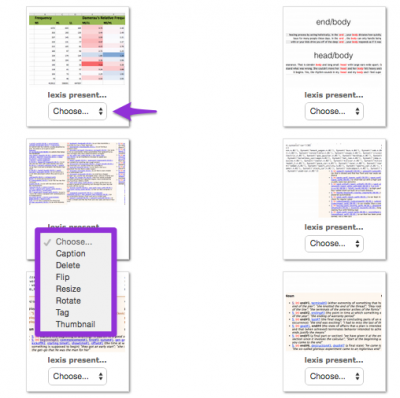
Step 6) Images in the Lightbox Gallery can be edited after being uploaded. To do this, click “Turn editing on”
Step 7) Choose the function you want to apply to the image from the accompanying drop-down menu
Step 8) Enjoy your Lightbox Gallery. Your images will pop up in a nice lightbox surrounded by a shadow.
For Support
If you encounter difficulty during any part of these tasks, please e-mail us at moodle@iastate.edu for assistance, or stop by 306 Ross during our scheduled support hours.
If you cannot see the images in this documentation, click here.
