Welcome! In this tutorial, you will learn how to create chat in your course page. This feature allows you to communicate with your students online for individual online conference or online feedback.
Step 1.
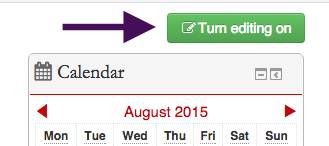
To create a chat, turn on “Editing on”.
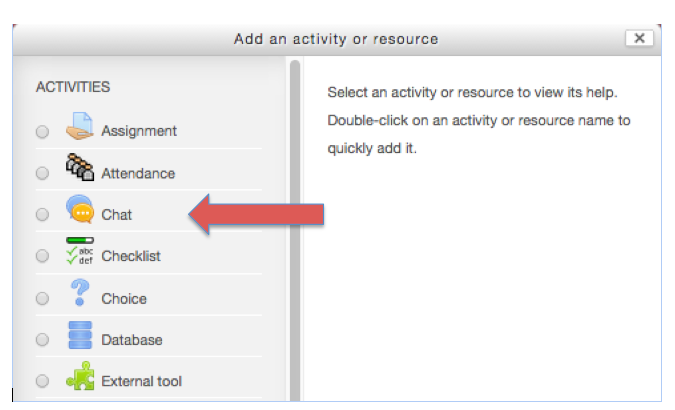
Click on “Add an activity or resource” button.

Select “Adding a new Chat”.
Step 2.
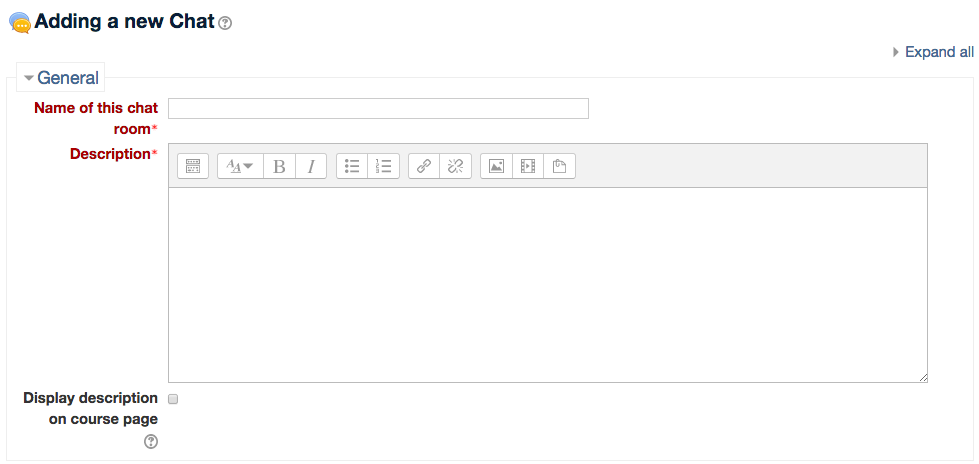
Fill out a form to create a chat.
- Name of this chat – You must name your new chat room
- Description – Provide description about a chat in the text field.
- Display description on course page – Click on the check box if you would like to display the description of the chat on the course page.
Step 3.
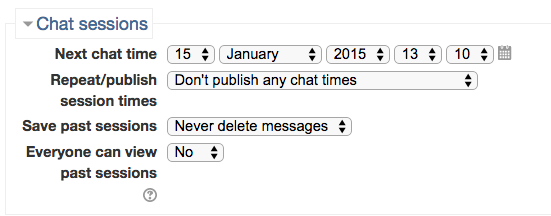
In Chat sessions, you can set up
- Next chat time – you can decide when the chat room will be open.
- Repeat sessions – you can set up how often you want this chat room to appear. Choosing “Don’t publish any chat time” will keep the chat room open for use at any time.
- Save past sessions – you can decide how long you want to save past chat room sessions.
Step 4.
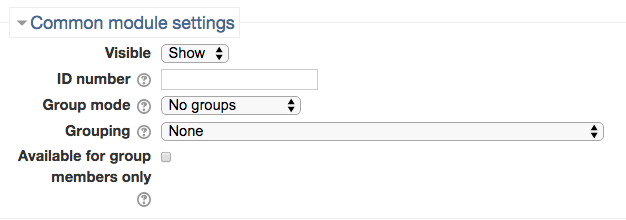
In the Common module settings, you can set up
- Visible – you can show or hide groups during the chat room activity.
- ID number – you can give the chat room an ID number as a way to identify the chat for grading purposes.
- Group mode – you can choose whether to have no groups, separate groups, or visible groups.
- Grouping – you can assign students to groups within grouping within a course.
- Available for group members only – If this checkbox is ticked, the activity (or resource) will only be available to students assigned to groups within the selected grouping.
Select “Save and return to course” or “Save and display” to finish creating the chat.
For Support
If you encounter difficulty during any part of these tasks, please e-mail us at moodle@iastate.edu for assistance, or stop by 306 Ross during our scheduled support hours.
If you cannot see the images in this documentation, click here.