You may want to add a quiz for your students at some point during the semester. This guide will show you how to add a quiz and assign different questions and settings.
Step 1
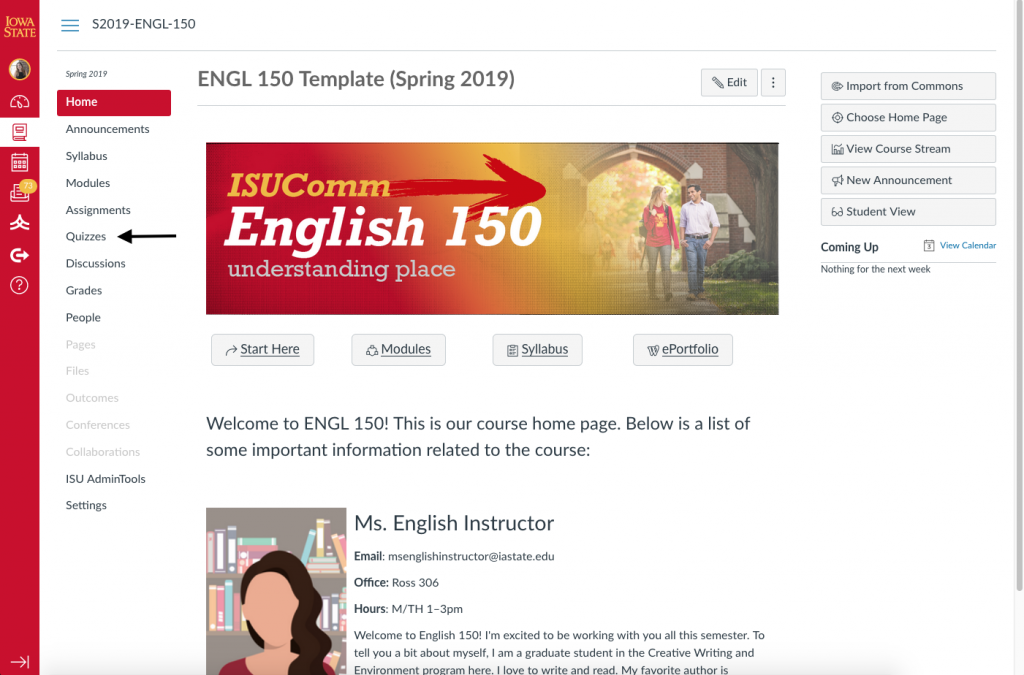
From your course menu, select “Quizzes.”
Step 2
You should see a list of the current assignments available. Click the red “+Quiz” icon on the top right of the screen.

Step 3
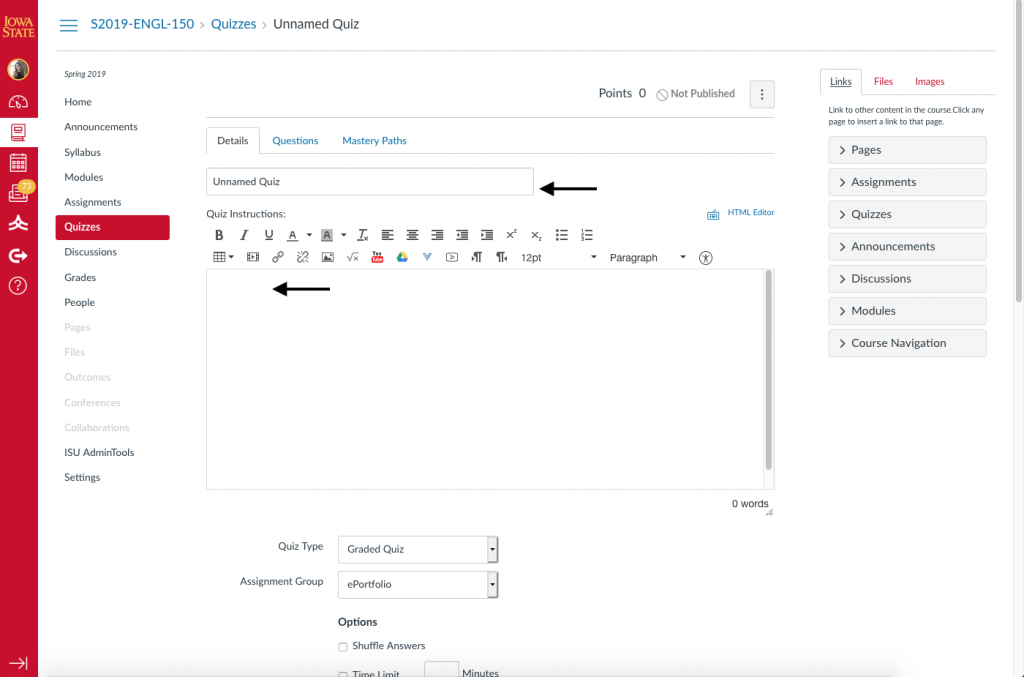
From here you can add a quiz title and description. Include any information about the quiz you’d like the students to have access to. You can also attach or reference other documents within the description.
Step 4
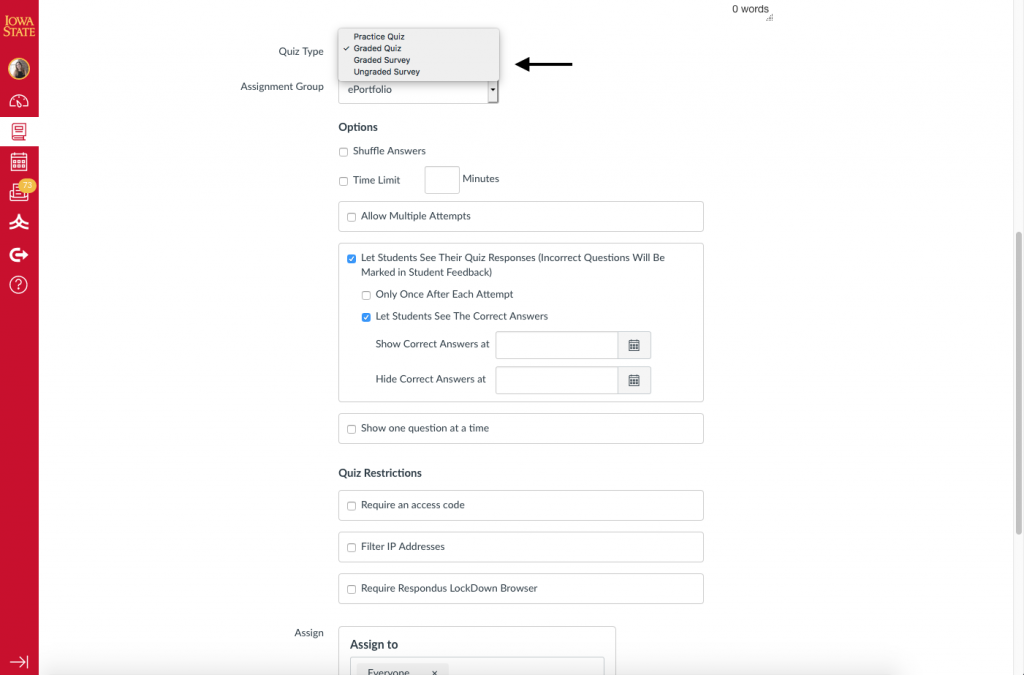
Choose details for the quiz, such as what type of quiz it is, which assignment group it should fall under, and the due date.
Step 5
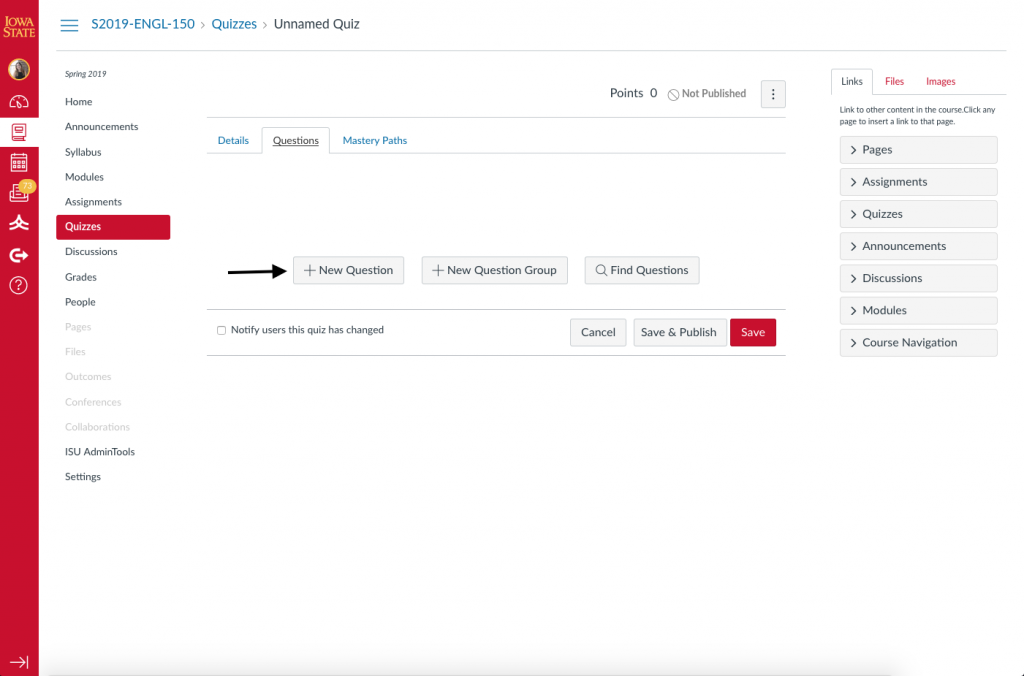
Once you’ve determined the details of the quiz, click on the “Questions” tab. You’ll see options for adding quiz questions. Choose which option fits your needs. If you’re creating a basic quiz, we’d recommend the “+New Question” option.
Step 6
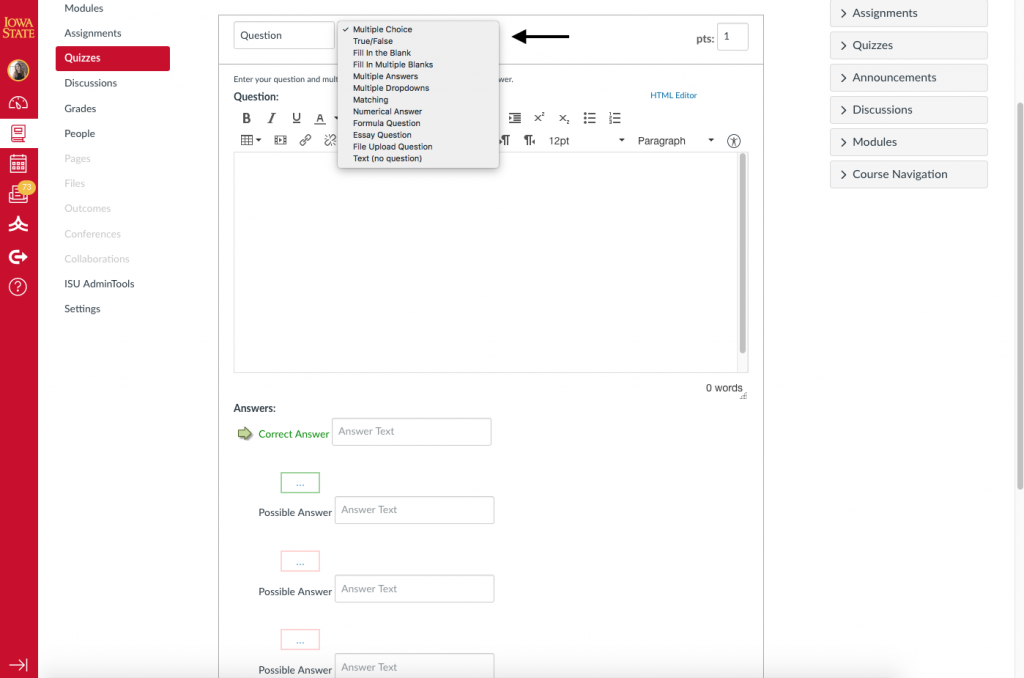
Create your quiz question. Choose from different types of questions. Adjust points on the right hand side.
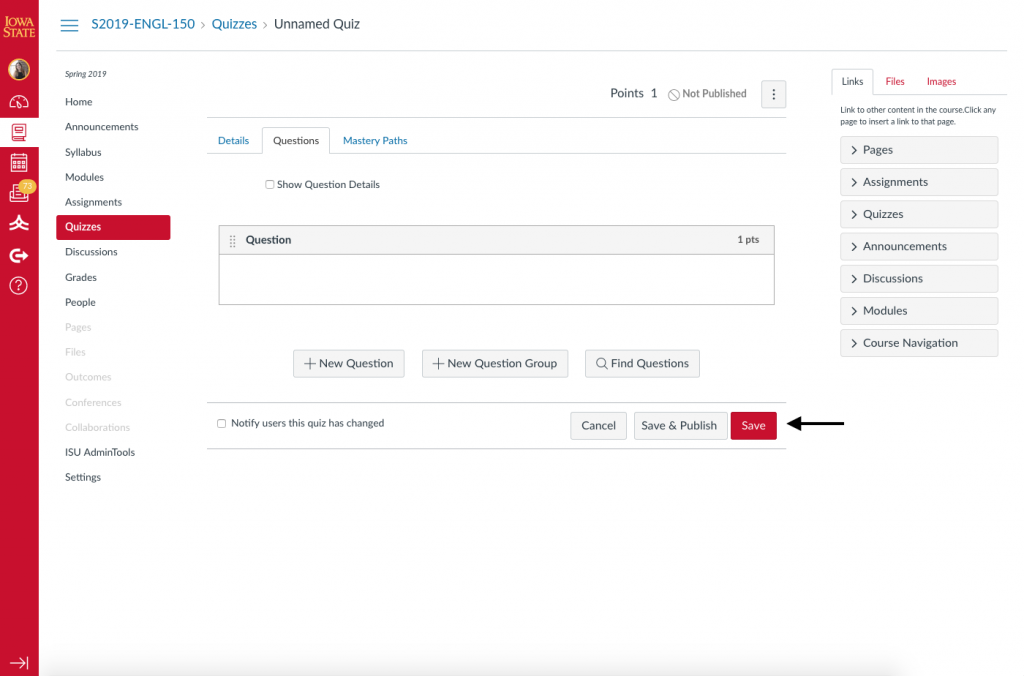
Step 7
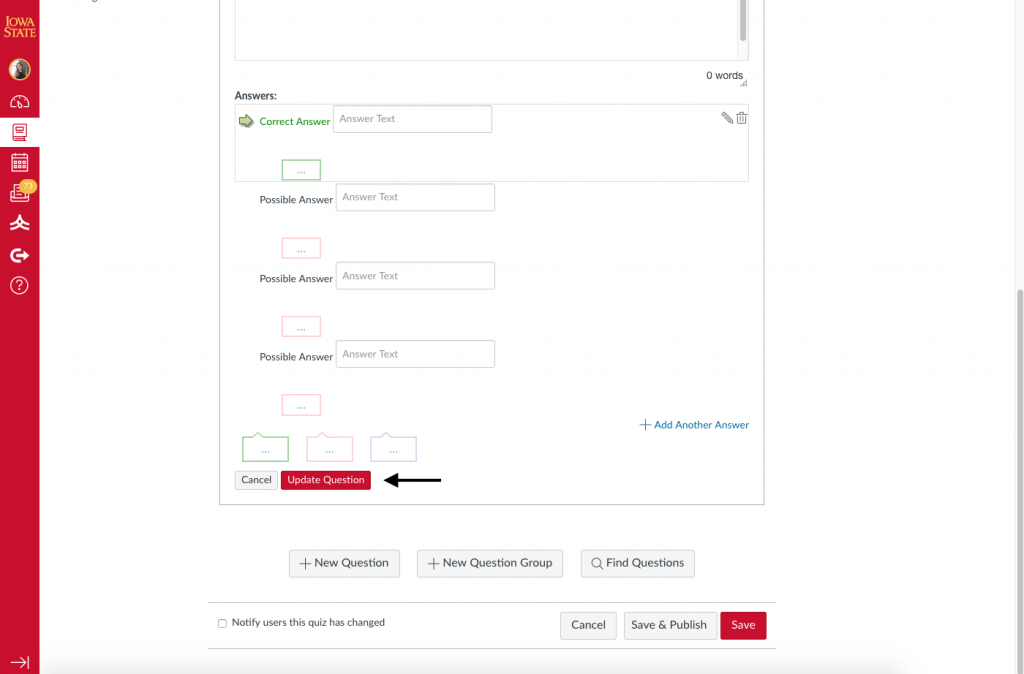
You can click “Update Question” when you finish drafting one. Continue this process until you’ve created all of your quiz questions.
Step 8
You can save and publish the quiz if you’re ready for students to have access. If you’d still like to edit it before they can see it, just save it. We recommend not publishing the quiz until you’ve finalized all the questions.