Welcome! In this tutorial, you will learn how to create a calendar.
Step 1
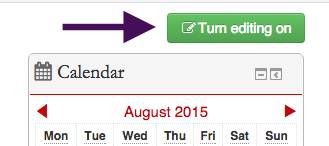
“Turn editing on”
Step 2
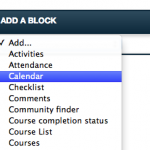
Scroll down the page and find the “Add a Block” block on the right-hand side. Choose “Calendar”
Step 3
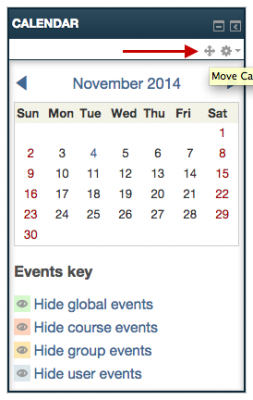
The Calendar will appear near the bottom of the blocks stacked on the right-hand side of your page. Individual blocks can be moved by clicking on the arrowed cross near the top of the block that you want to move (pictured below) and dragged to the desired location.
Step 4
The Calendar can be linked to “Checklists” to have assignments appear on the calendar.
For Support
If you encounter difficulty during any part of these tasks, please e-mail us at moodle@iastate.edu for assistance, or stop by 306 Ross during our scheduled support hours.
If you cannot see the images in this documentation, click here.


