Welcome! In this tutorial, you will learn images to either a label or the section summary in your course.
Step 1. Add images to a label.
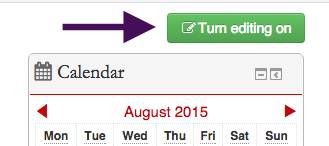
1. Turn on “Editing on.”
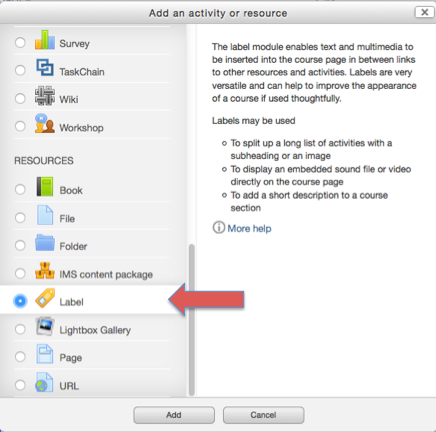
2. Click the “Add an activity or resource” button on the week you want the label to appear. ![]()
3. Scroll down and select “Label.”
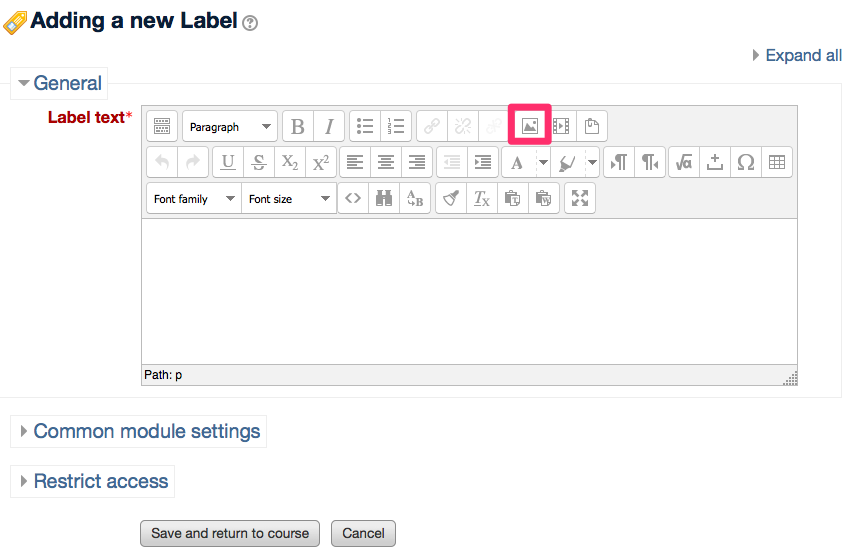
4. In Insert/edit image pop-up window, click on “Find or upload an image…”
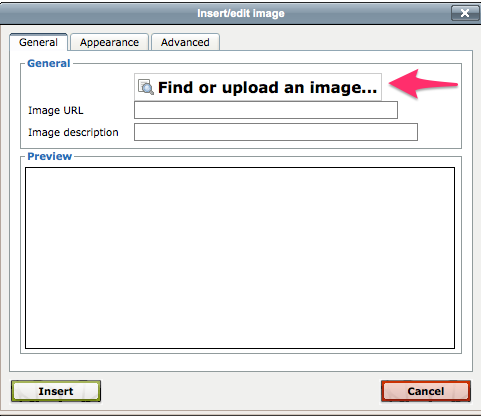
5. Click on “Browse…” to find the image you want to upload.

Click on “Upload this file” -> “Insert” -> “Save and return to course”
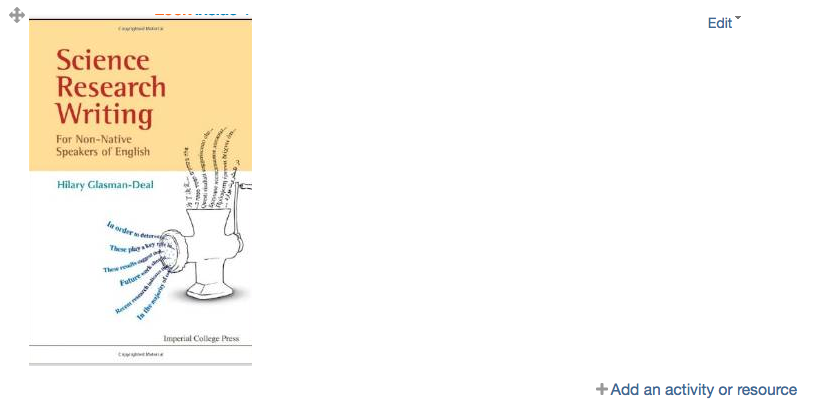
6. The image you just uploaded will be displayed in the label as shown below.
Step 2. Add images to the section summary.
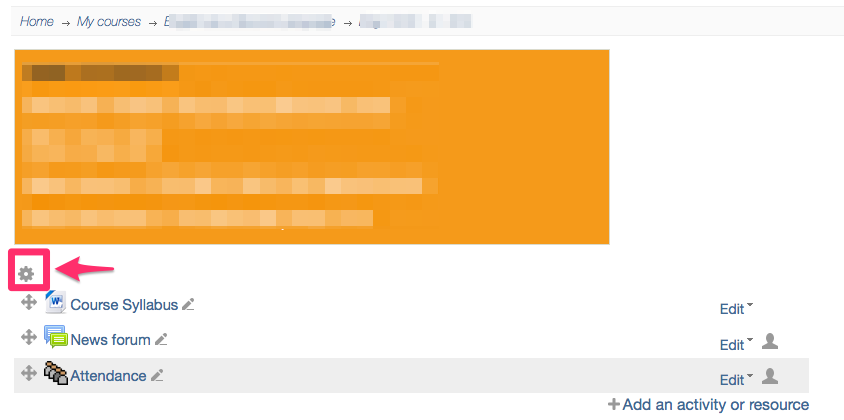
1. Click on a gear button to edit the section summary.
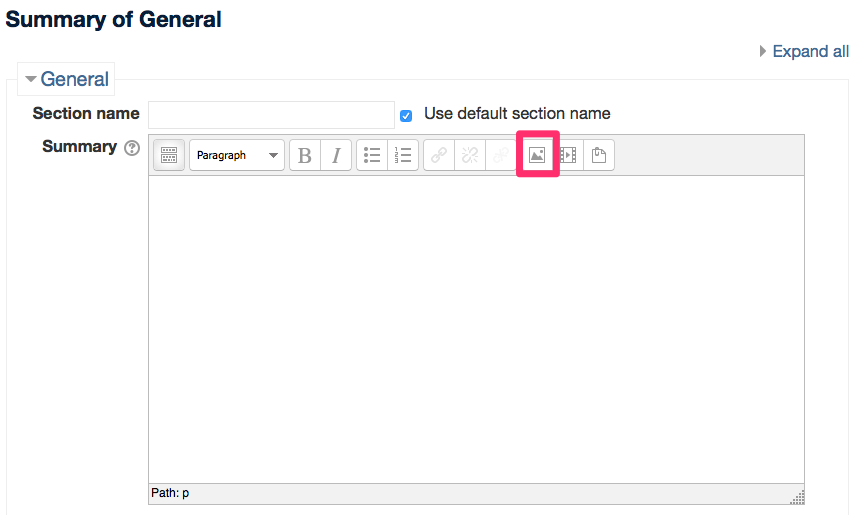
2. In Summary of General, click on the image icon to upload an image.
3. Follow the same procedure to upload the image as described in Step 1.
For Support
If you encounter difficulty during any part of these tasks, please e-mail us at moodle@iastate.edu for assistance, or stop by 306 Ross during our scheduled support hours.
If you cannot see the images in this documentation, click here.