Welcome! In this tutorial, you will learn how to create glossary in your ISUComm course.
Step 1. Setting up glossary
Step 1-1. Turn Editing on
To create a chat, turn on “Editing on.”
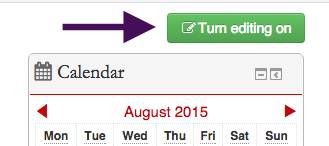
The, click on “Add an activity or resource” button.

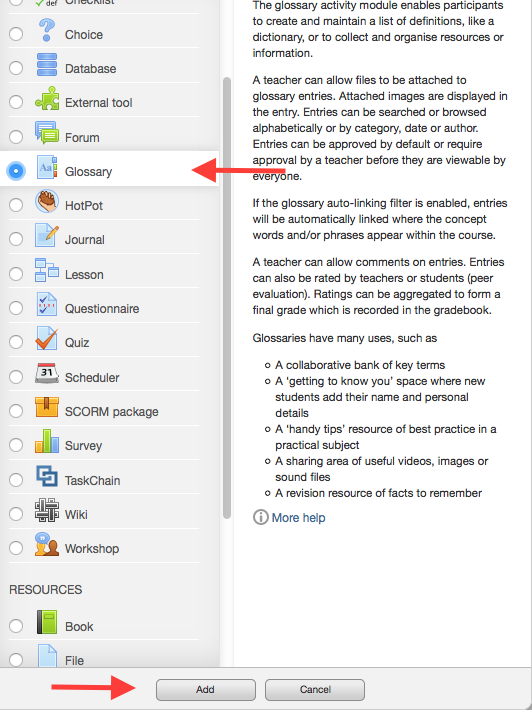
Step 1-2. Set up glossary
Select “Glossary”, and click on “Add” button.
Step 1-3. Fill out information
Fill out general information for the glossary activity you are creating.
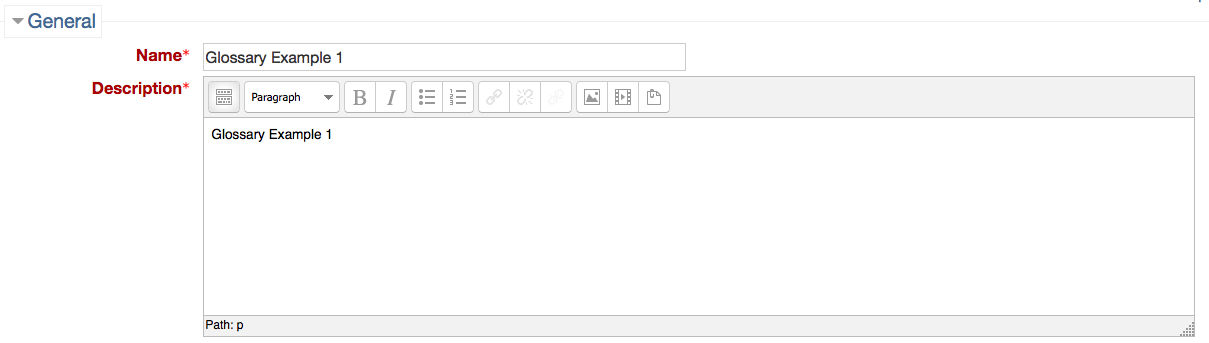
Then, click on “Save and return to course.”
Step 2. Adding an entry
After you set up glossary, you can find the link in your course page. Click on the link to use this feature.

Step 2-1. Set up glossary
To add an entry, click on the “Add a new entry” button.

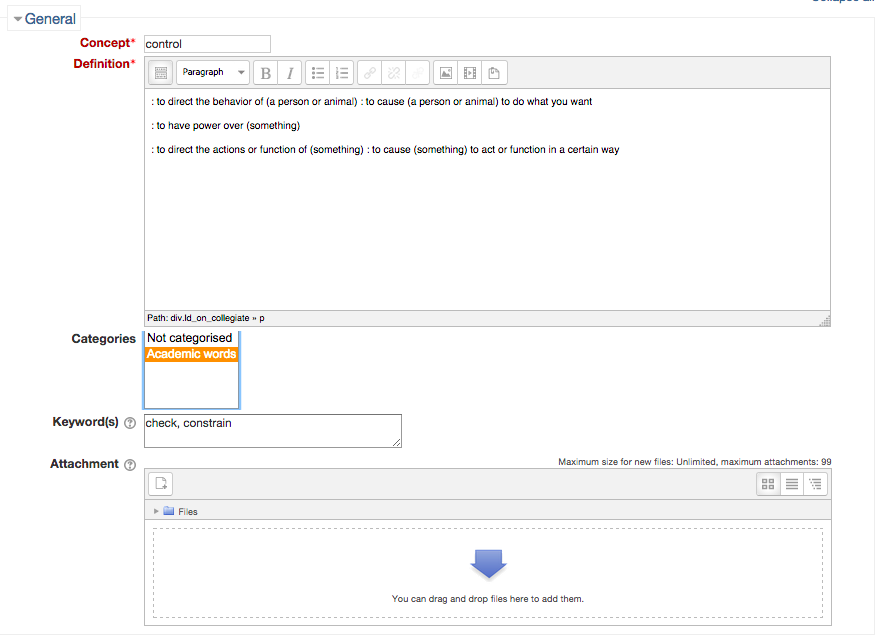
Step 2-2. Fill out “Concept” and “Definition”
- Concept: Enter the word you want to define in the “Concept” text area
- Definition: Enter its definition.
- Category: Select a category, if you have created any. To set up categories, check “Additional Step” below.
- Keywords: Type in the keywords associated with the entry (e.g. synonyms)
- File: Attach files (e.g. pictures or media files associated with the word)
Step 2-3. Auto-linking
If you enabled auto-linking, the glossary words appearing anywhere in your ISUComm course will be automatically linked to their definitions.
Check the options for auto-linking, if it is applied to your activity.
- This entry should be automatically linked: Check if you want the entry to be automatically linked
- This entry is case sensitive: Check if you want the link is case sensitive
- Match whole words only: Check if you want to match (link) whole words only.

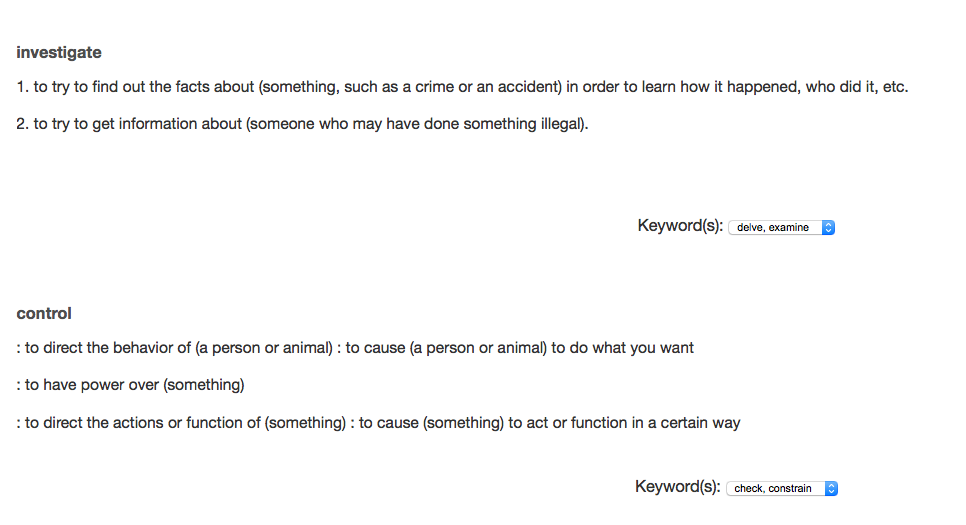
Step 3. Checking the entries
When done, click “Save changes.” Now the entry appears in the glossary as shown in the example below.
[Additional Step: Setting Categories]
You can create categories for entries to make searching easier.
1. To create a category, go to the “Browse by category” tab. Click on “Edit categories” on the left-hand side of the page.

2. On the “Add category” page, provide a name for it
Choose “Yes” if you want this category to be automatically linked,
Then,click on the “Save changes” button.
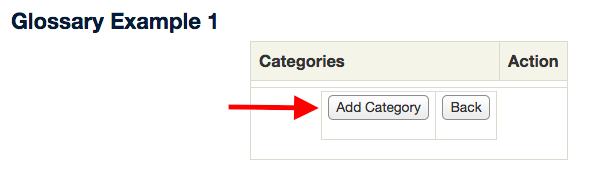
3. To create another category, click on the “Add category” button and follow the same procedure. To return to the glossary, click on the “Back” button.
For further information
You can watch the video tutorial.
For Support
If you encounter difficulty during any part of these tasks, please e-mail us at moodle@iastate.edu for assistance, or stop by 306 Ross during our scheduled support hours.
If you encounter difficulty during any part of these tasks, please e-mail us at moodle@iastate.edu for assistance, or stop by 306 Ross during our scheduled support hours.
If you cannot see the images in this documentation, click here.