Introduction
After you’ve spent some time working on your ePortfolio, you might want to think of ways to personalize it. The standard theme (design) of your site lacks in a lot of visual styling, so a nice upgrade is changing the Site Identity. This support article will provide step-by-step instructions for you to figure out where to change your logo, how to create one, and where to upload it.
Note: Some themes do not include the option to edit the Site Identity/Logo in the header. If you want this feature, try a different theme.
Step 1: Locating your site identity
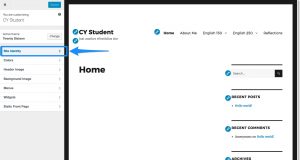
Open your ePortfolio and navigate to Appearances, Theme, and Customize. This is where you do a majority of your visual design editing. On the left side of the screen you will see a list of options that you can change on your site. Select the Site Identity option (pictured above).
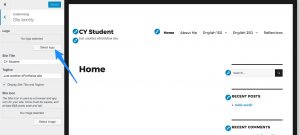
Once you choose to edit the site identity, then your ePortfolio will guide you through some pretty easy steps. You select to add a logo, but at this time STOP! You are not ready to upload a file yet because you haven’t created it!
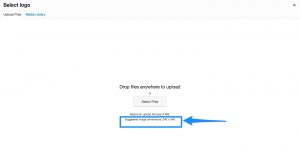
Look at the suggested size of the image just below the insert media button. This gives you the suggested size of the logo to upload in pixels. Remember this info for your next steps. Open a new tab in your browser and proceed to the next section in this article.
Step 2: Creating a personal logo
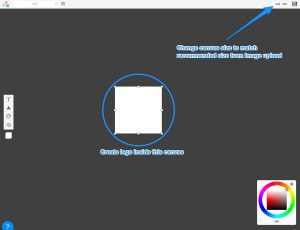
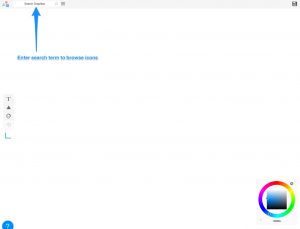
Once you know the size, it is time to make your logo. You can make your design in a number of programs, but this article will show you a quick, easy, and free to use program online called logomakr.com. Once on the site, you will see a blank white page. This is where you will create your logo. But, before you begin, change the size of your canvas so it matches the pixel size from earlier.
Search for an image that you want to be part of your logo. Remember, you are creating your personal visual identity! Search for an image by using keywords. In this article, we are going to look for an image that is close to CY.
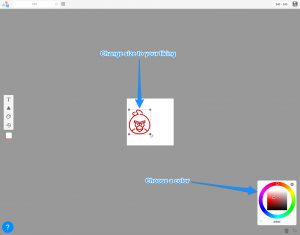
After you choose an image, logomakr.com allows you to change the size and color. Find something that you like, keeping in mind your personality or theme colors for something that clearly shows the logo is yours.
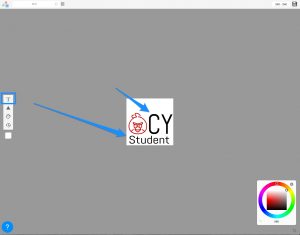
Put your name in your logo by adding text. You can change the font, color, and size. Again, be creative and choose a design that fits you but is still easy to read.
After you are happy with your logo, crop the image to the exact size of your logo. This will cut out any unnecessary space that might make your header look a little off.
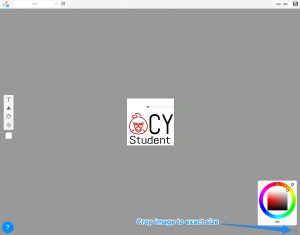
After cropping, click the save icon to download your completed image. You’re almost done!
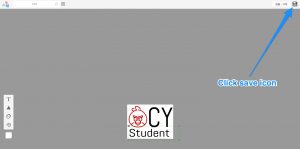
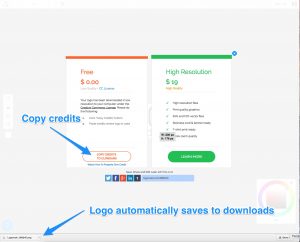
Logomakr.com provides images for you to use under Creative Commons licensing. This means you can use the images for free, but you need to give credit. Download the image in the free option, but maker sure to copy the credits! This automatically adds a short text to your clipboard so you can paste it on a Credits or Bibliography Page in your ePortfolio. Giving credit to the creator/designer is just as important as citing an author in a paper.
Step 3: Finish uploading your image
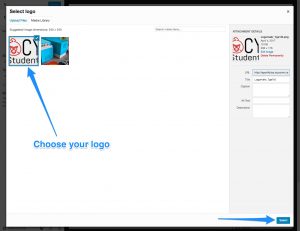
Now that you have designed a personal logo that you are happy with, the next step is to upload it to your site. Go back to your browser’s tab with your ePortfolio. Now you can click the button to Select Image. Upload your image by dragging and dropping the image into your media library or go through your file picker.
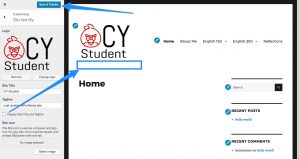
Because the Customizer is a live editor, your logo should appear in your header right after you select the image. Now, since your new logo includes your name (if you chose your design to include it), you want to eliminate the redundancy of the standard theme design. Hide your Site Title and Tagline by unchecking the box below your logo upload. Once you do so, you will be left with your own personal logo!

If you encounter difficulty during any part of these tasks, please e-mail us at olt@iastate.edu for assistance, or stop by 306 Ross during our scheduled support hours. If you cannot see the images in this documentation, click here.For Support