The second time you use ePortfolios in a class, you may be surprised to learn that your ePortfolio is the same site! Well don’t worry, this section of the article will help you manage your new content as well as your old content. Below you will find two options for managing your growing collection of content.
One way to manage content for multiple courses is to keep all of the links on separate menus. Follow these steps to display separate menus for individual courses (or you can follow the same steps to divide your content in other ways).
Creating a Custom Menu Widget
Within your ePortfolio, WordPress allows you to add custom content through the use of Widgets. These are small blocks of content that are available to be placed in sections of your website. For this article, using the Twenty Seventeen theme, you can place content in the Blog Sidebar or Footer of your ePortfolio. If you are using a different theme, your options may be different, so take some time to explore what options your theme has as you read through the steps.
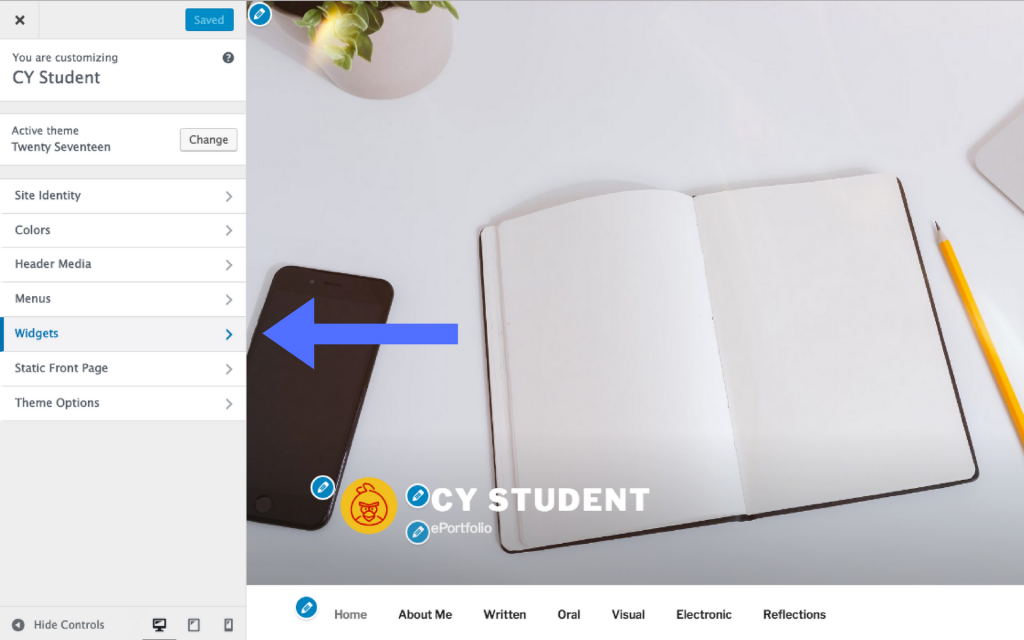
Step 1: Choose Widgets
Navigate to the Customizer View in your ePortfolio (for more on this, see our article on the Customize Panel). Select the Widgets option.
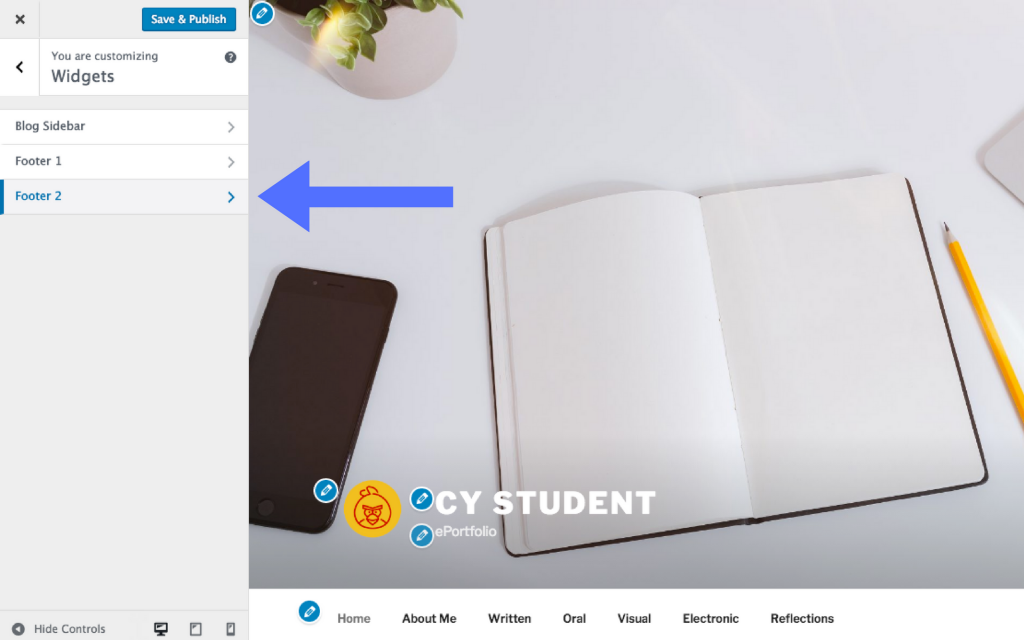
Select the area you would like your custom menu to appear. Here Footer 2 is shown.
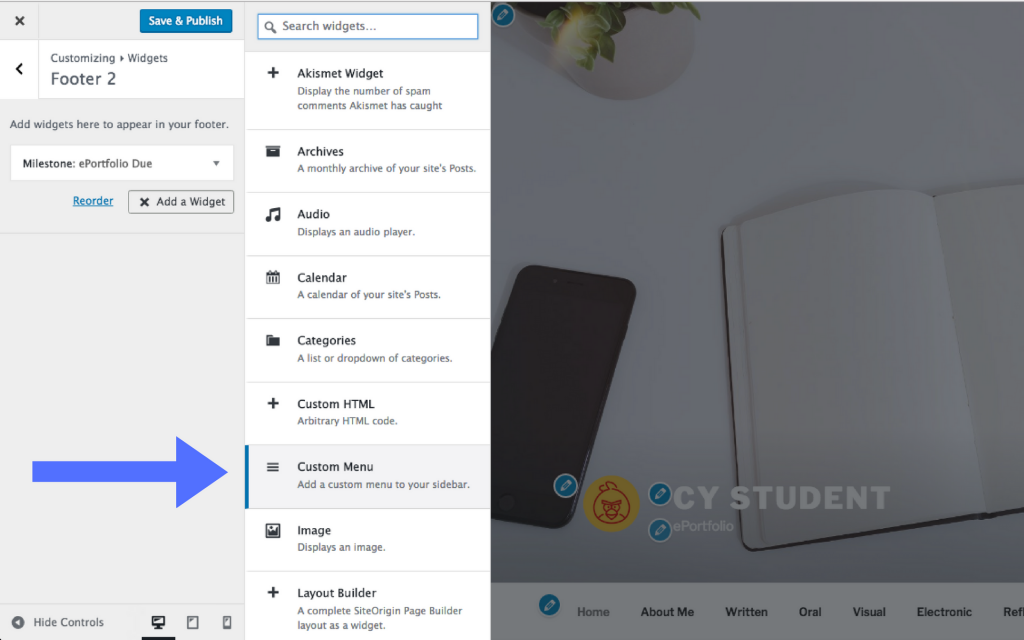
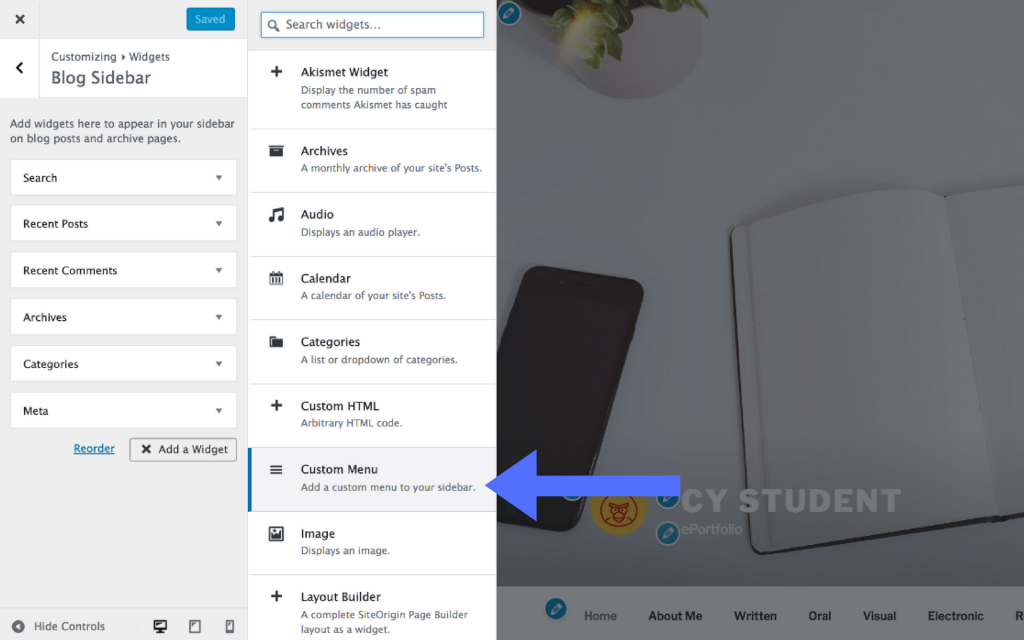
Click the Add a Widget button. Then select the type of content you would like to appear. For this article, we want to have a Custom Menu.
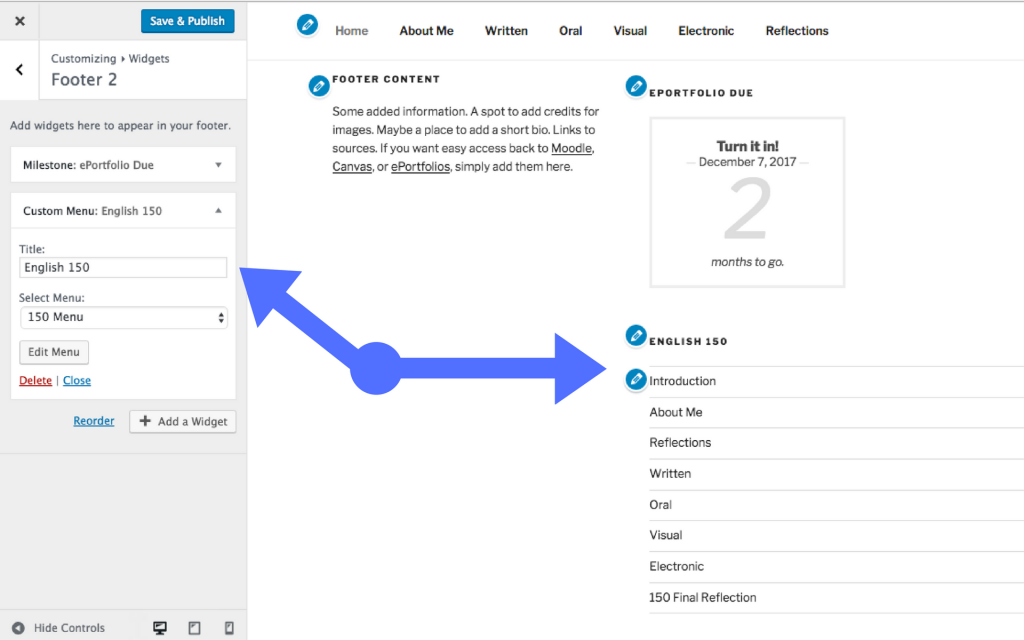
Give your menu a Title, and then choose which menu you created in your Dashboard to appear in the footer. Here is where we want your English 150 Menu.
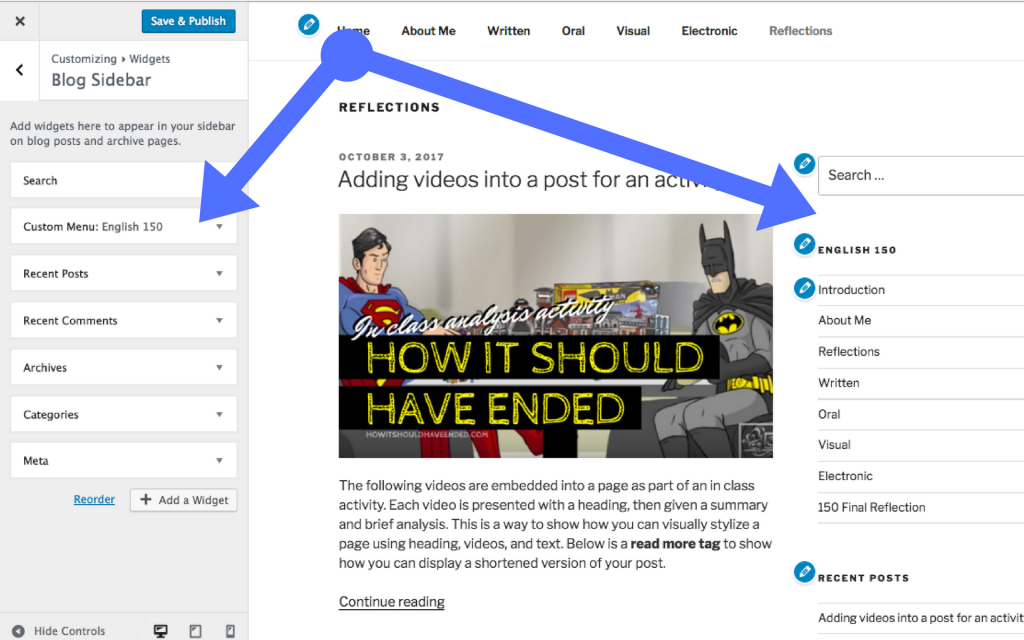
You can also have your menu appear in the Blog Sidebar. This will only appear on pages you have created for you Posts, such as the Reflections page. Follow the same process as the Footer 2 area.
After you choose your Custom Menu, you can reorder your widget contents, so now you see that the English 150 Menu is just below the Search bar for your site.
You did it! After you move your English 150 Menu to another area on your ePortfolio, you can simply create a new menu for your 250 class and make it your Top Menu.
For Support
If you encounter difficulty during any part of these tasks, please e-mail us at olt@iastate.edu for assistance, or stop by 306 Ross during our scheduled support hours.
If you cannot see the images in this documentation, click here.